

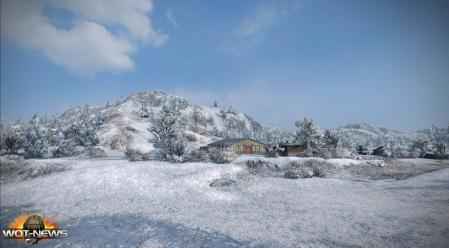
Bei Facebook gibts diesen Ansatz zur Karte Fjord....... aber Facebook hat ja nicht jeder ![]()
ZitatAlles anzeigenII Base
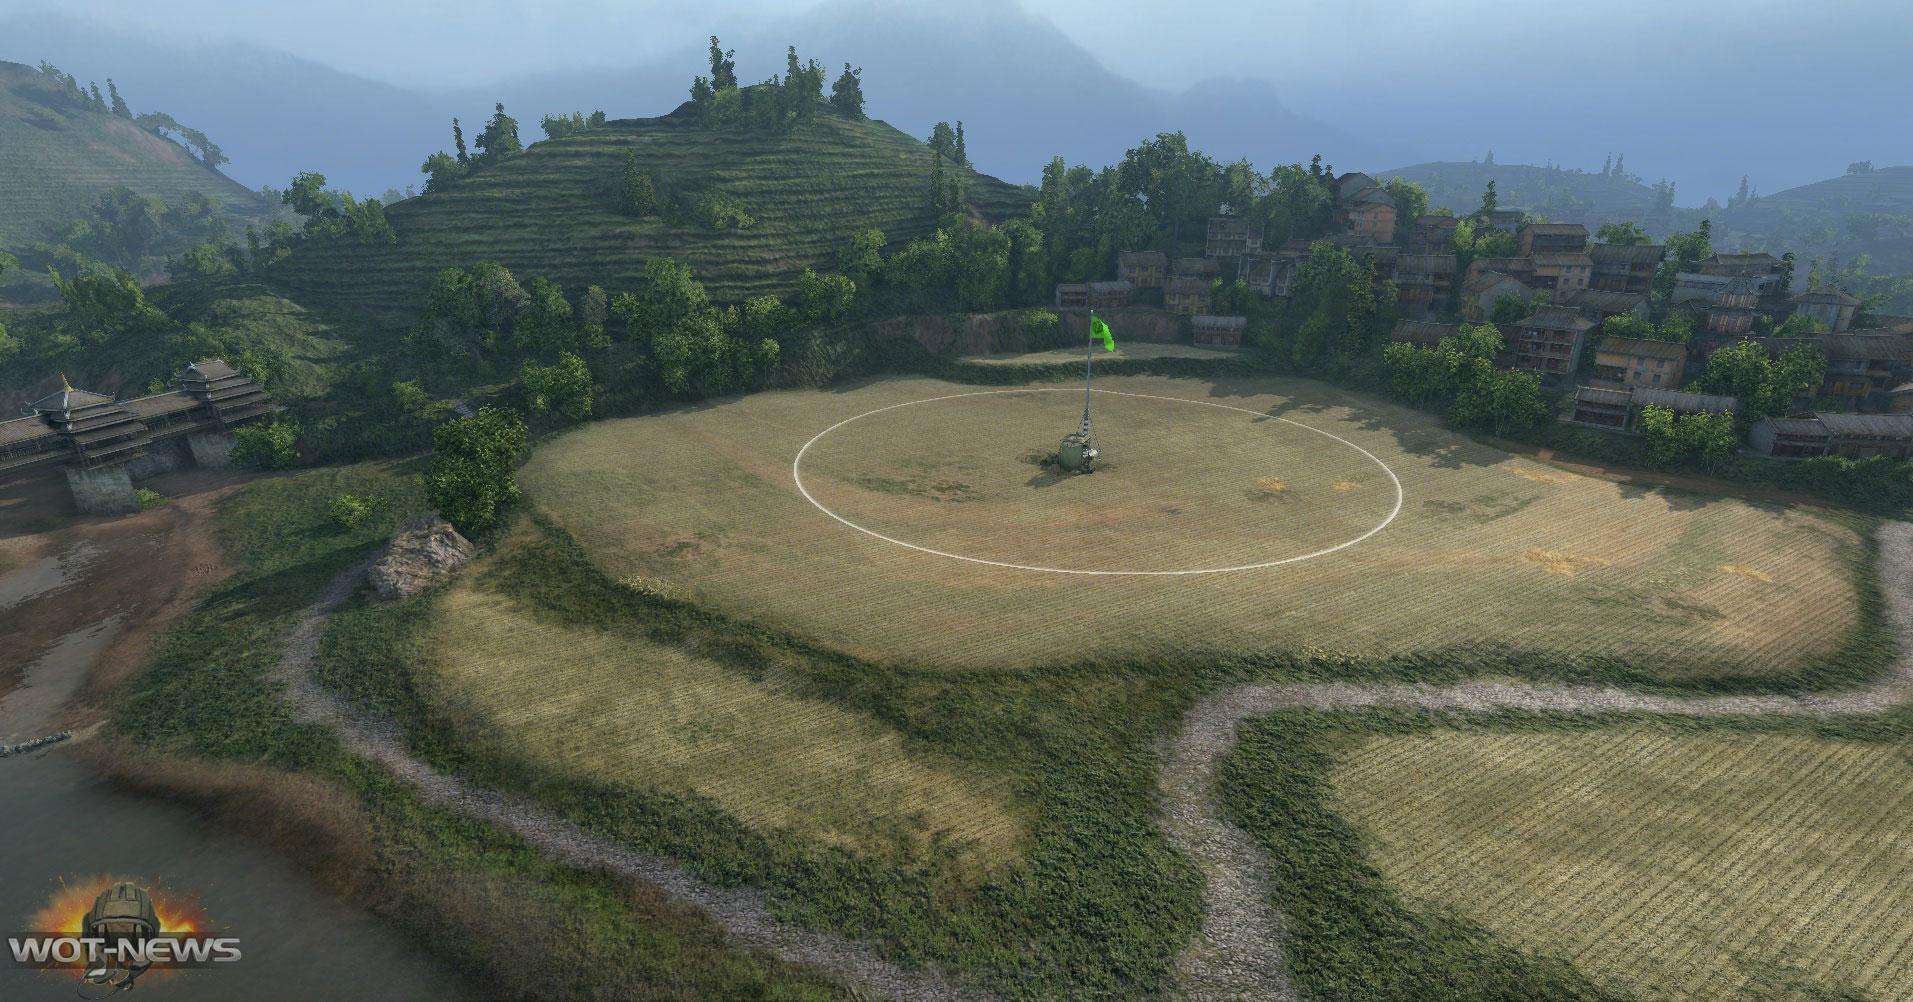
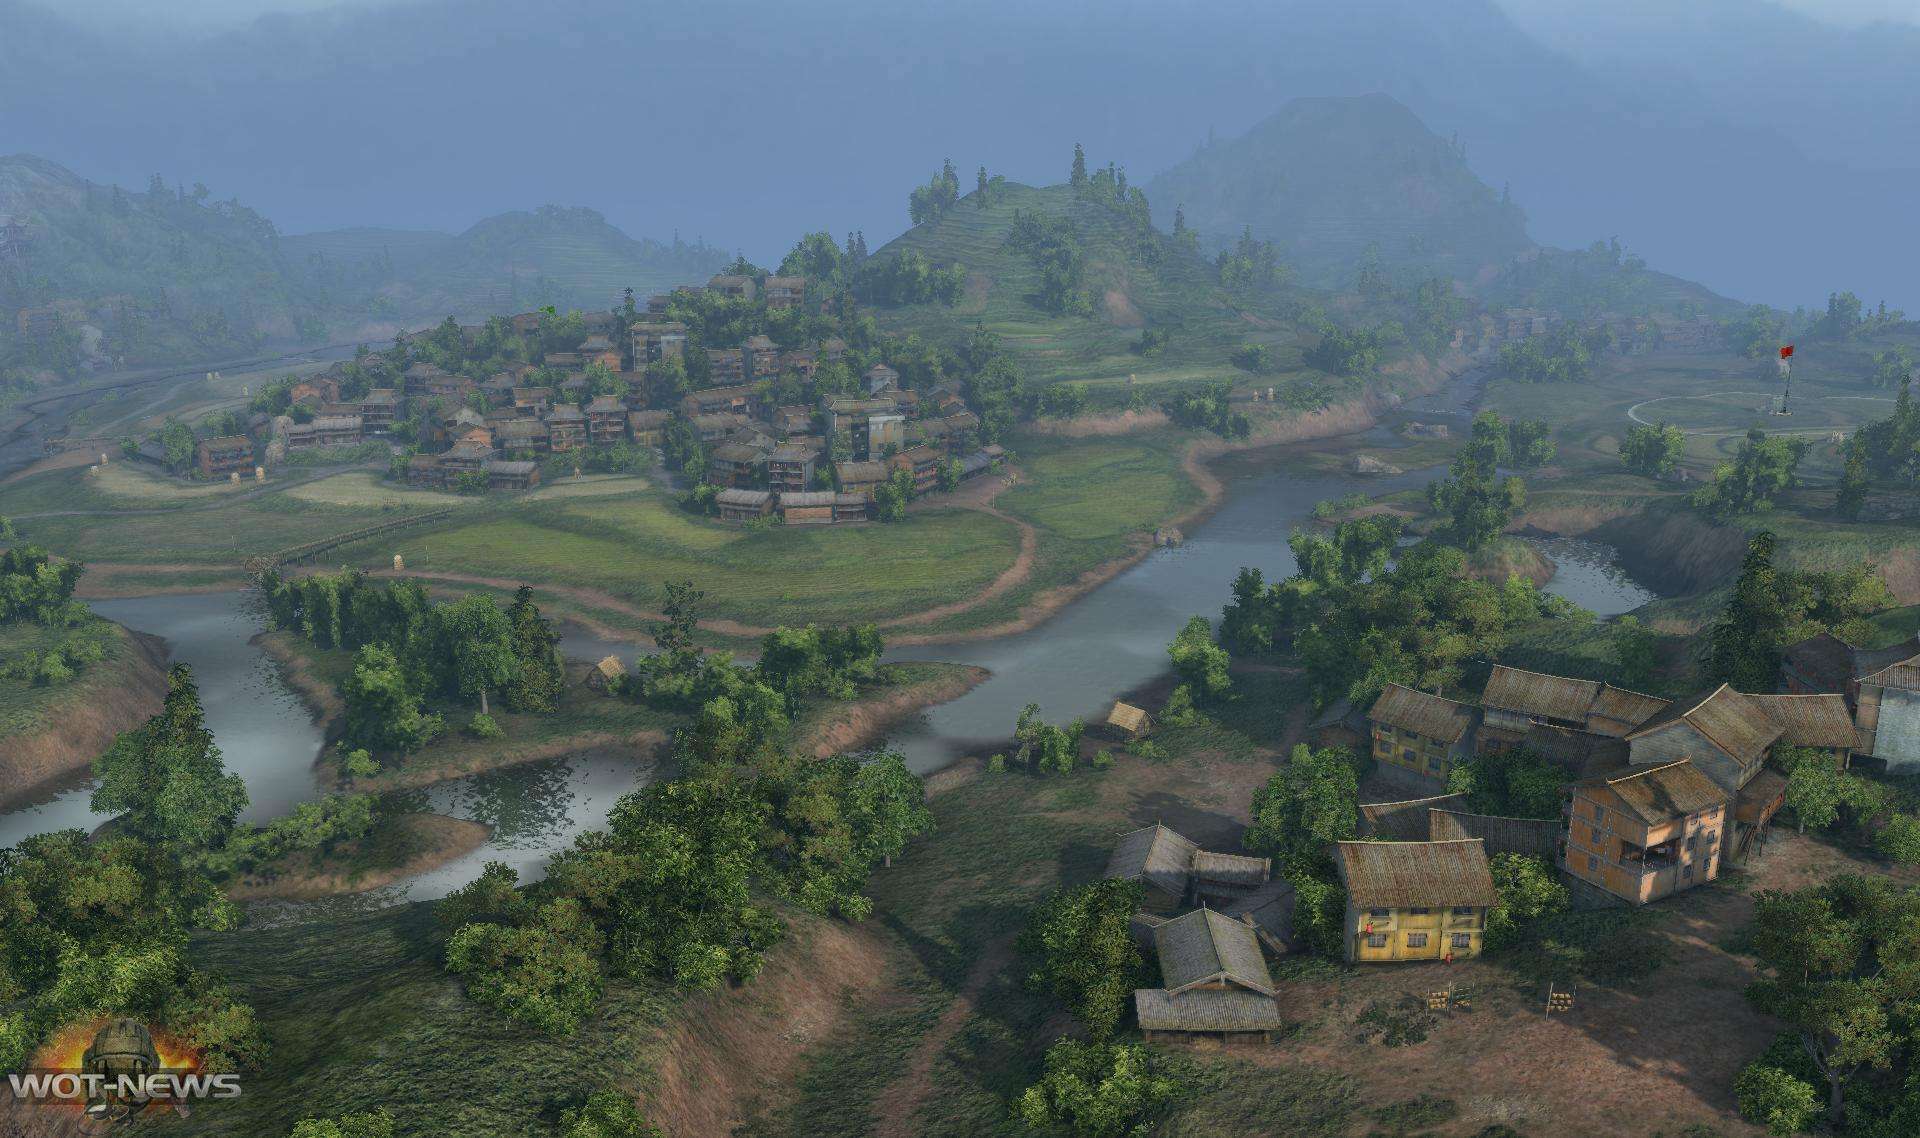
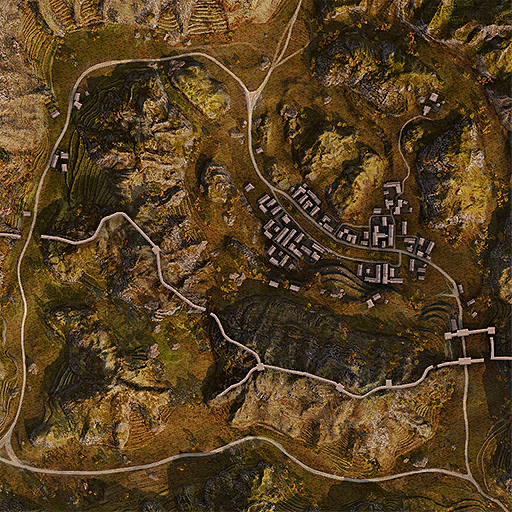
It is rather comfortable to play from the second base on Fjords for artillery works there just fine: with ease and precision. A piece of advice for random battles: find a good hiding spot, so that your artillery can cover you and attack only when you have an obvious advantage.
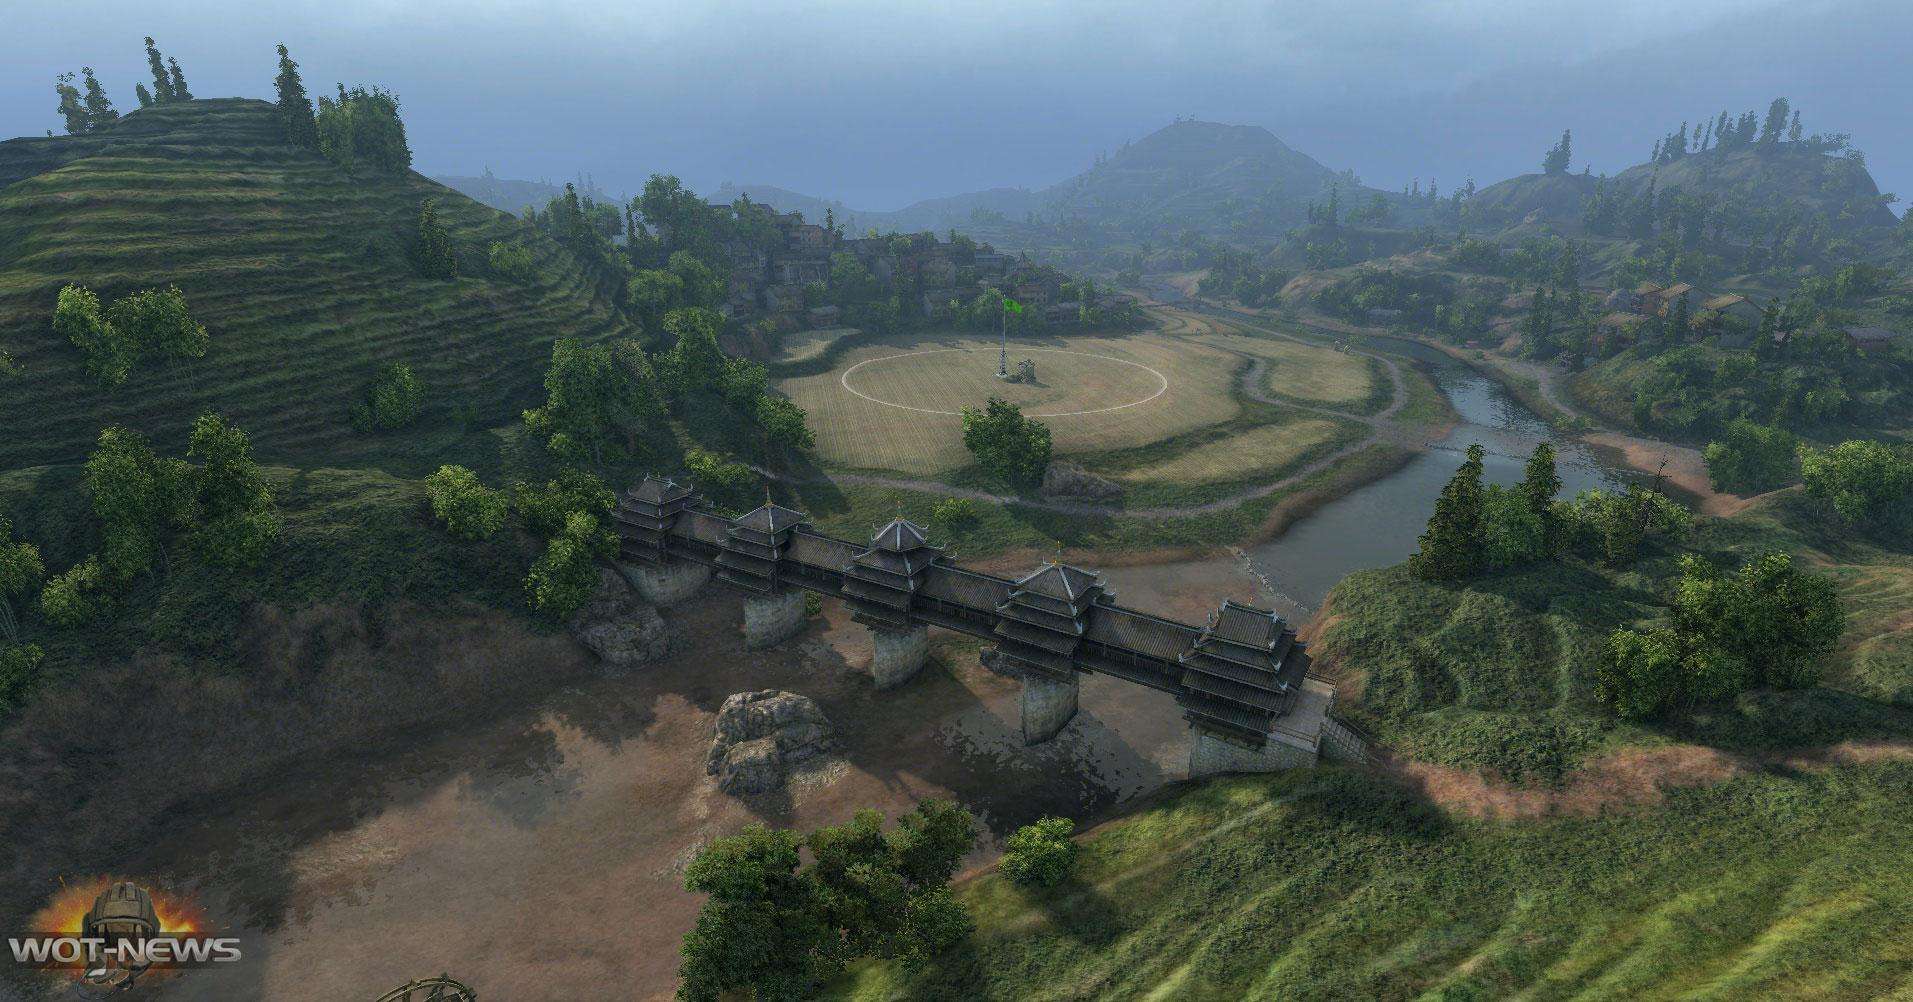
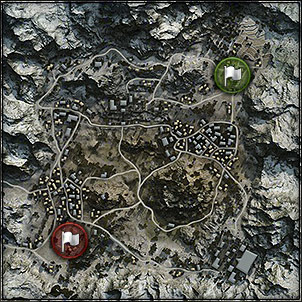
The fastest HTs occupy Area 1. The slowest HTs, which are always less in numbers, move to Area 2.
The remaining HTs roll towards Area 3 and one HT stays behind to cover the artillery. When the need arises, it could enforce either Area 3 or 1.
HT groups in Areas 1 and 3 must have an MT or LT for scouting and a general situation control.
One MT patrols the region between Area 1 and 3, sectors D4-D6. It could be an MT from the Area 1 group. Artillery is deployed in such a way as to have a possibility to redirect fire to any of the three Areas.
This start-up position will allow us to press enemies from two sides, no matter where they come from. It also lets us counterattack from any direction.
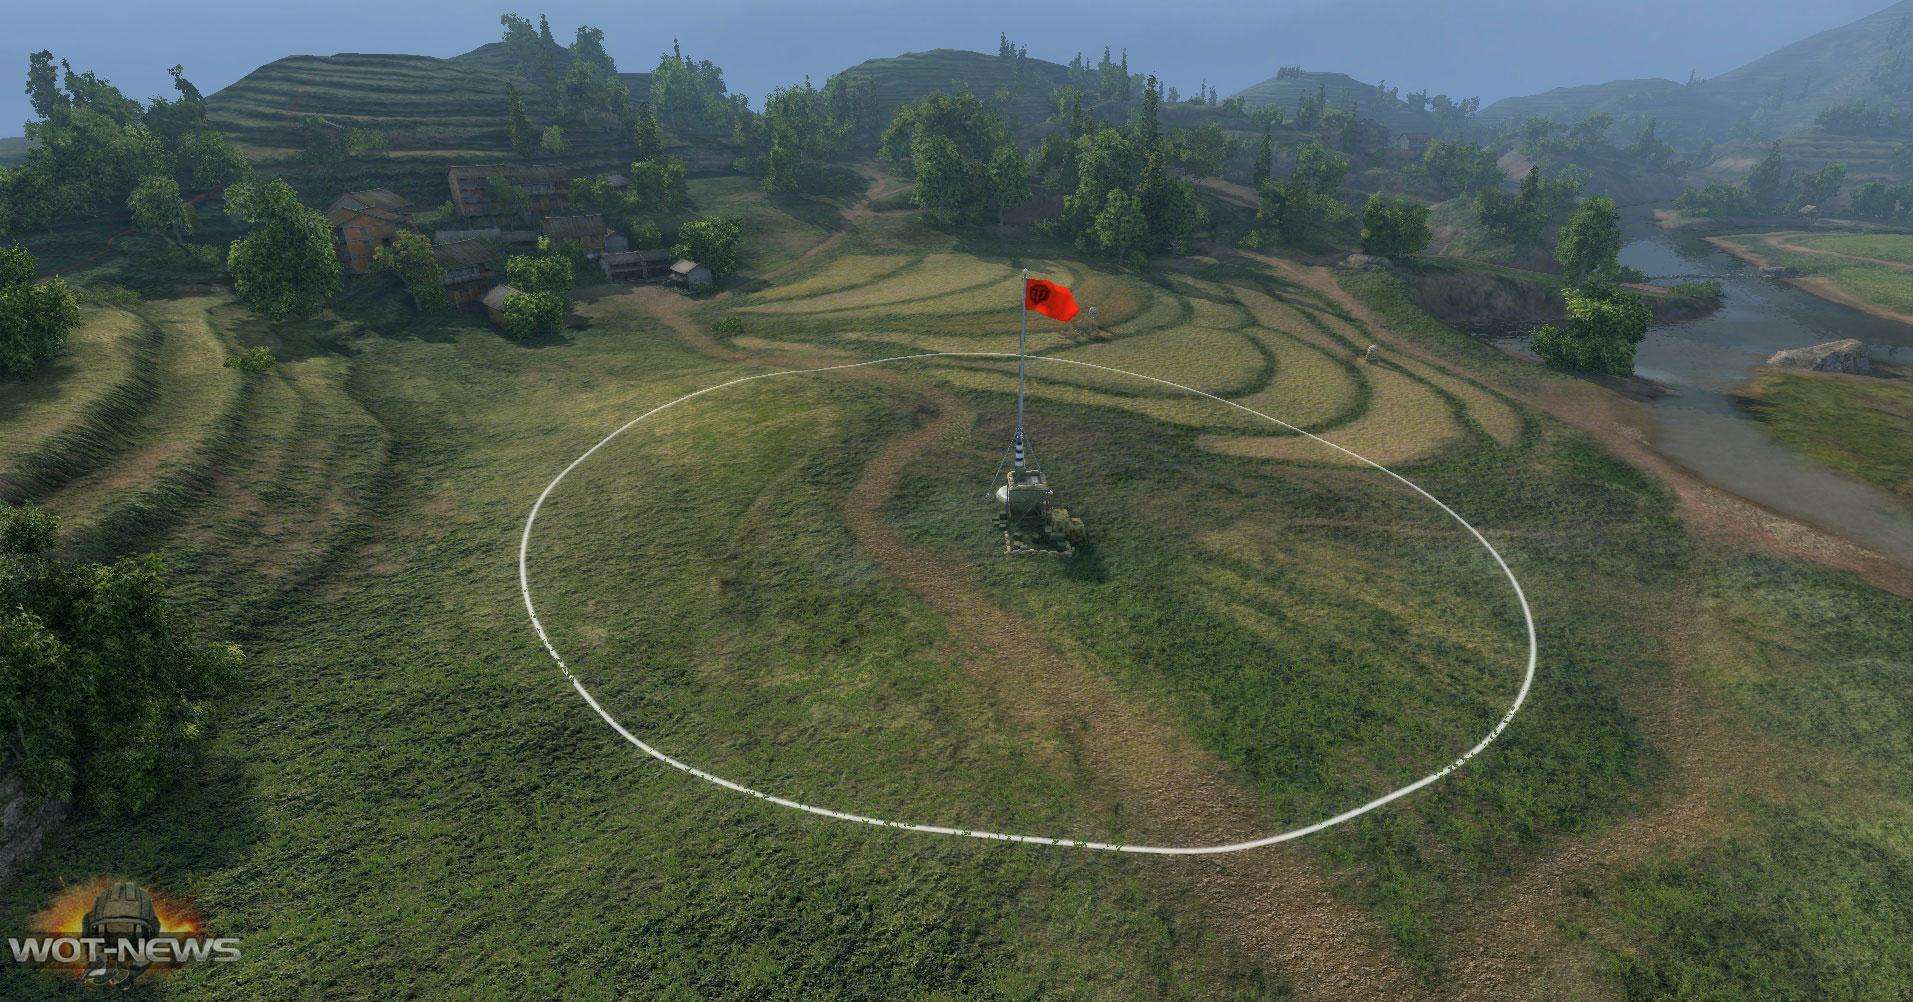
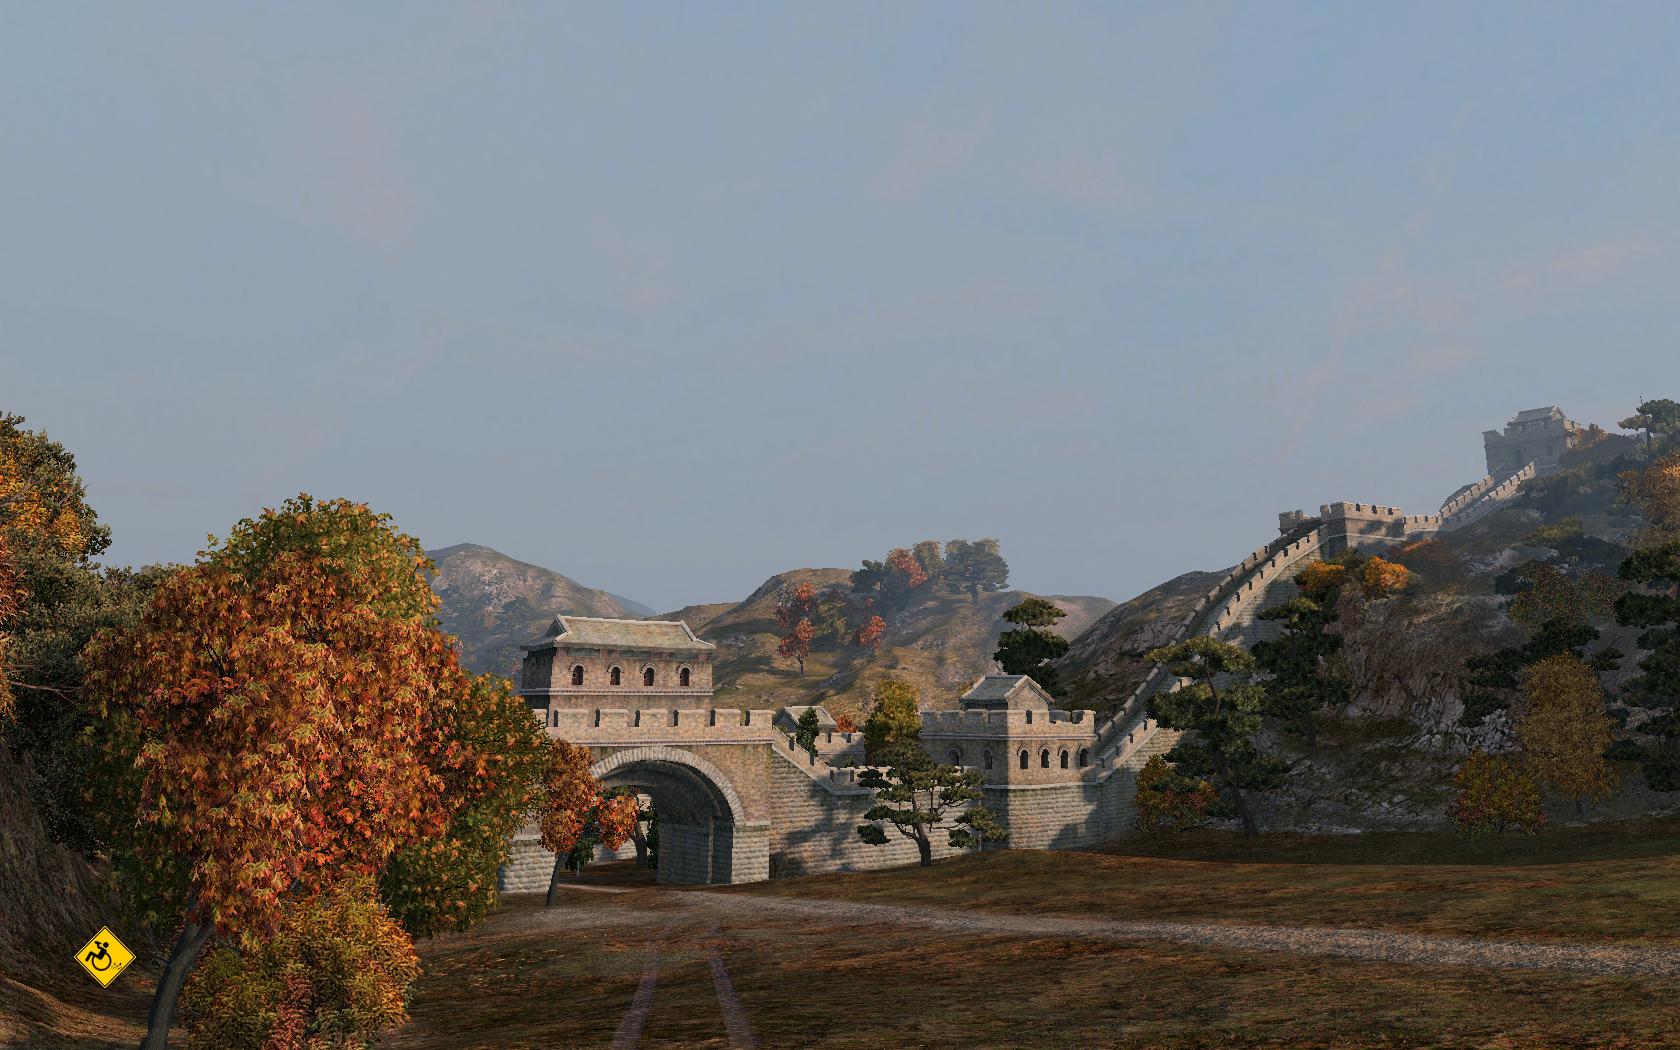
I Base
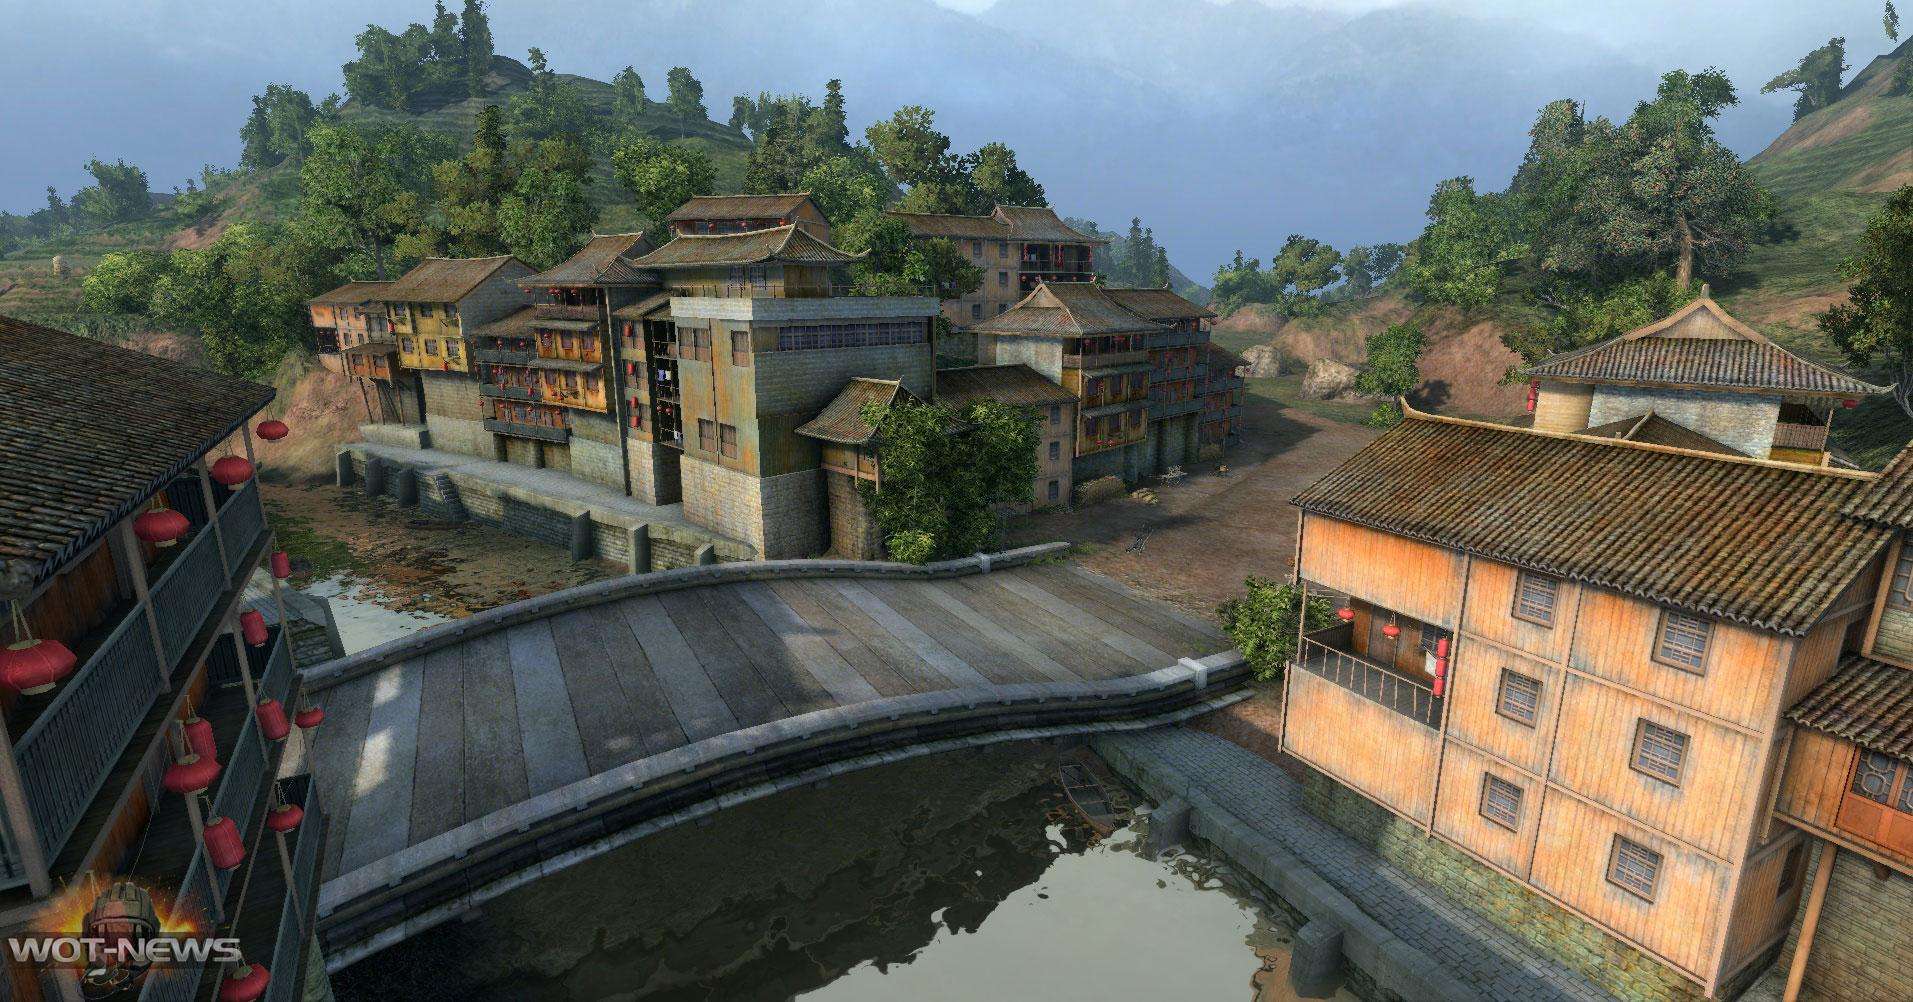
Playing from the first base has only simple tactics: the hardcore defence, hiding behind the mountain. Yet you can try to break though the city in a large group towards the enemy base to capture in the Blitzkriegesque manner. The speed and power of your charge are essential components for winning.
On the other hand on the I base right flank, if you manage a tedious ascend up the mountain, you can break though to the heart of enemy positions, artillery. Even the slowest HTs can manage it, if they stay together and cover each other.
By kleineslon
[Blockierte Grafik: http://farm9.staticflickr.com/8214/8315083696_1c1f044996_o.jpg]
Landmann